Reflecting on the initial years after graduating dental school, I recall having a rather ambivalent relationship with performing extractions. My confidence regarding extractions as a general dentist would fluctuate, but once I discovered specific extraction instruments, my confidence grew significantly and I was able to continue to keep this very necessary service as a part of my general practice. There are four instruments that I have continued to return to over the years, my Fab Four, if you will, and I’d like to share them with you.
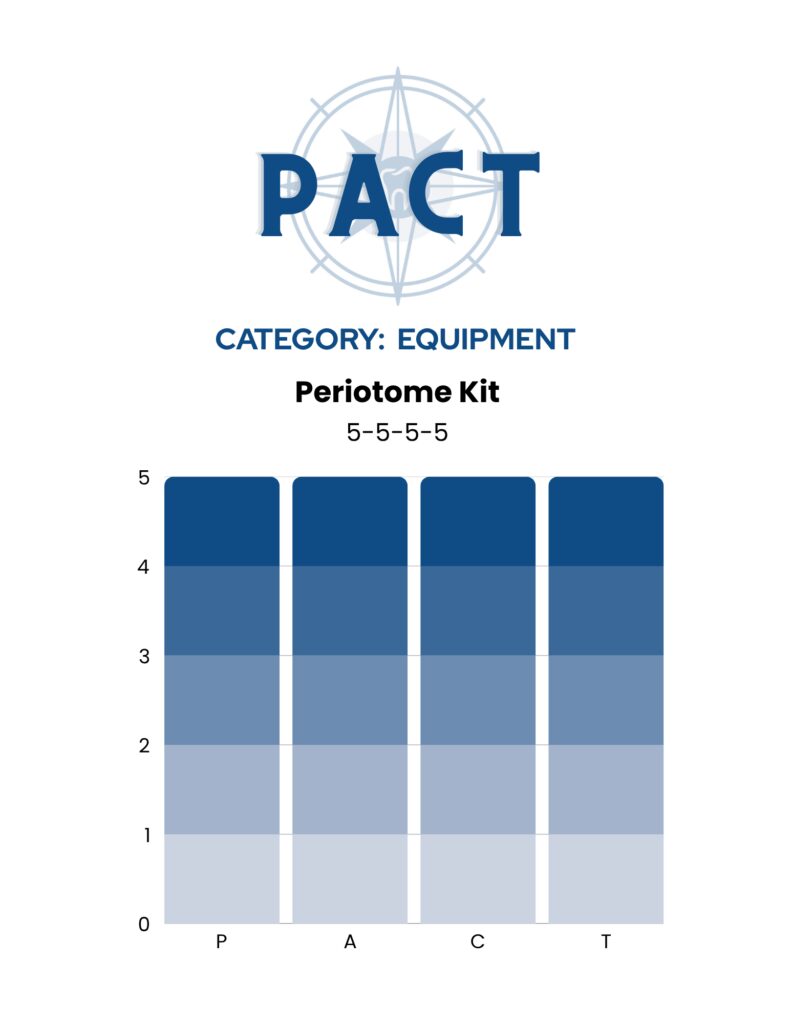
#1: Periotome Kit
This one is my absolute; the one instrument set I would never begin an extraction without. My periotome kit. The periotome kit I use has 7 periotomes, each with different tips. Every tip is unique and helps in different, individual scenarios. The handle is thin and the tips are small. I use them to make sure the patient is numb, reflect the attached gingiva, and separate the PDL fibers from the tooth. This enables the clinician to access the tooth structure and allows the tooth to loosen before putting a large amount of pressure on the tooth. Additionally, it helps in avoiding any contact with adjacent teeth during the luxation process. Using periotomes significantly enhances the likelihood of an atraumatic extraction while reducing the pressure experienced by the patient. When the periotomes have already loosened the tooth, the forceps can be used much more successfully to remove the tooth.
#2: Physics Forceps (Standard Kit)
The physics forceps (standard kit) are my favorite forceps. The standard kit includes 3 different forceps for the maxillary arch (upper left, upper right, and upper anterior) as well as 1 universal forceps for the mandibular arch. After using the periotomes to loosen the tooth, physics forceps can help rotate and lift the teeth out of their sockets atraumatically. Sometimes, especially with large teeth or multi-rooted teeth, the physics forceps help “pop” the tooth out of the socket, and a separate forceps is needed to remove the tooth in order to keep buccal bone intact. At other times, sectioning a multi-rooted tooth allows the forceps to engage each root individually and results in less pressure on the jaw during removal. Another advantage of the physics forceps is that they allow clinicians to access severely damaged teeth and root tips, utilizing leverage and physics to facilitate the removal of teeth that would be otherwise difficult to grasp. One mistake that can be made is to think that the physics forceps is the only instrument needed to take out a tooth, and that the result will be atraumatic extractions every time. If the tooth and PDL is loosened first, the physics forceps can deliver quite consistently but using it in conjunction with other instruments is where the magic happens.
#3: Cowhorn
After using my periotome kit, the cowhorn is my immediate go-to for mandibular molars. A good cowhorn is one that has sharp beaks that are close together. If you have a cowhorn featuring beaks spread wide in the closed position, you will be wasting your time and the patient’s time. When I first started using the cowhorn, I was taught to use an up-down pumping motion. I realized that absolutely did not work for me, besides giving my forearms the workout of a lifetime! I took a live patient class, and one of the instructors presented his technique, which I adopted immediately. Placing the cowhorn tightly on the tooth, slowly rotate right as far as you can go, hold for 10 seconds. Then rotate left until moderate resistance is met, hold for 10 seconds. Rotate buccally, hold for 10 seconds, and rotate lingually, hold for 10 seconds. Repeat for several rounds. The range of motion will increase, and the tooth will start to lift out of the socket. For those that love the pumping cowhorn motion, this is the time when you can pump that tooth out of the socket, although it will result in minimal effort and much less stress to the patient experience, which is something that I am always striving for.
#4: The 88 Left and Right
While I feel that this forceps looks rather archaic, and I never show the patient this instrument, I love the configuration of the beaks and how it grips onto maxillary three-rooted molars. Once the periotomes are used, and I can ensure seating of these forceps as apically as possible, I can place this instrument on the tooth and squeeze. Slowly, but surely, I can start to move the forceps, loosen the tooth, and roll the tooth out distally. Sometimes, these forceps will naturally separate the roots of the tooth so that I can remove them individually, rather than having to section with a handpiece. If I use periotomes and the 88 forceps on the tooth first, and if the tooth naturally sections or breaks, the roots are all usually already mobile from the pressure applied previously, allowing for a simpler retrieval, many times without a handpiece. Not shockingly, I tend to use the periotomes as my root tip picks as well because the different shaped tips can allow for this versatility.
The journey from ambivalence to confidence in performing extractions is one that many of us general dentists face. My Fab Four extraction instruments have become indispensable tools in my practice, not only allowing me to perform extractions with greater ease but also enhancing patient comfort and outcomes. While these tools are the foundation for increasing your confidence during extractions, continuing education is also crucial in refining extraction techniques. In addition to the Fab Four tools, I highly encourage live patient extraction classes, at any point in your career. These continuing education courses can provide hands-on experience, expert guidance, and the opportunity to trial instruments on patients without having to purchase them first. By implementing the Fab Four (and classes!) into your practice, your patients will appreciate the expertise you bring to their care, the upgraded patient experience. As a result, you will feel more comfortable, confident, and efficient. That’s a win/win and something I’m so grateful I built into my own practice early on.
If you would like help on any of the following topics, please reach out to a member of our team HERE:
- How to add services to your practice and let your existing patient know
- How to evaluate your current supplies, materials and equipment to see how they are impacting your practice
If you missed our last blog post about if you should go out of network, you can read it HERE. To request a FREE Practice Optimization Analysis for your practice and to learn more about how to create more profitability in your practice, click HERE.